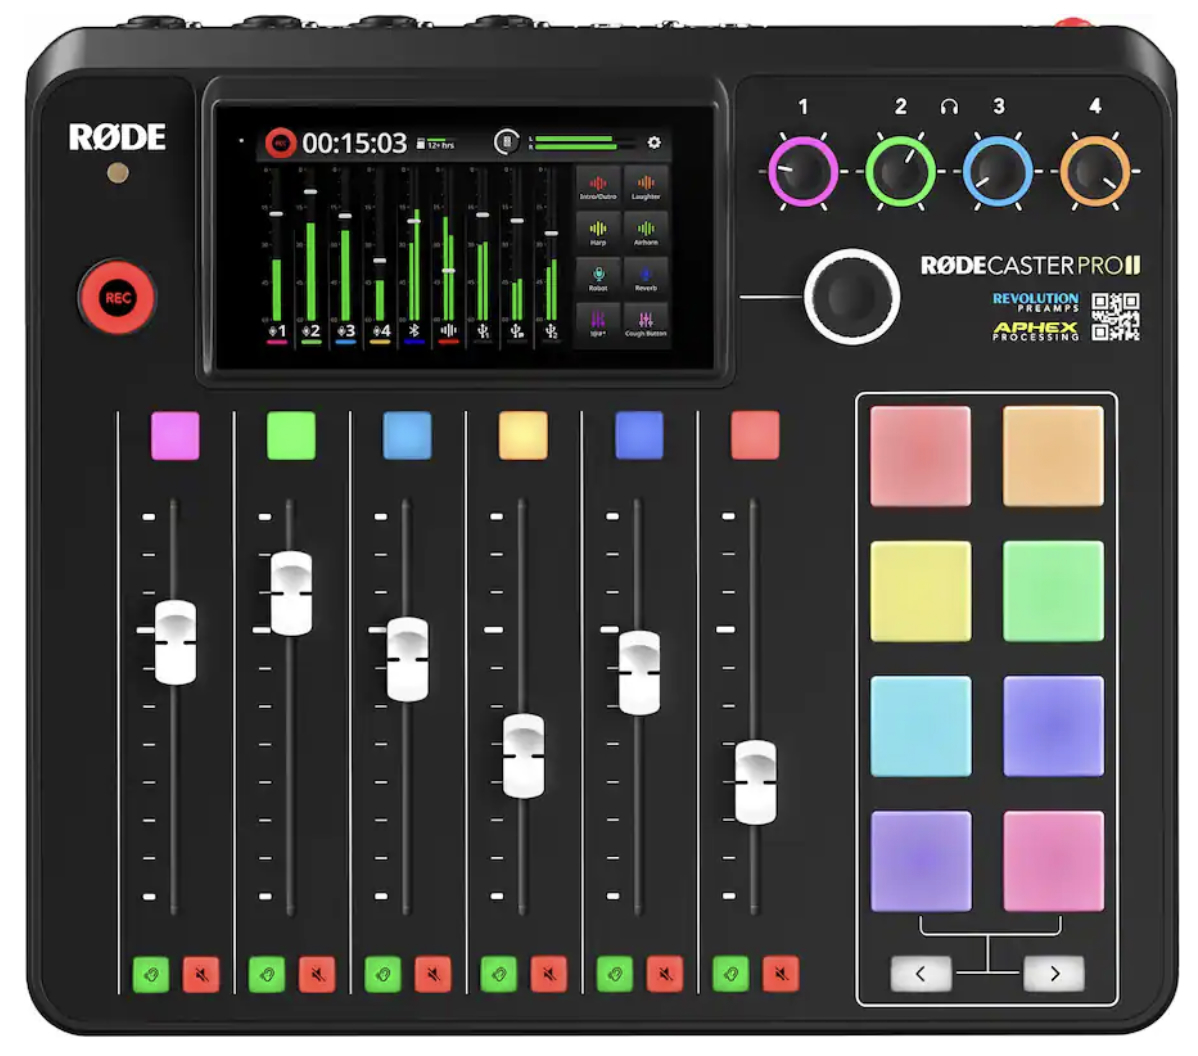
The Center for the Creator Economy (CCE) at Newhouse features the RODECaster Pro II audio production interface, limelight 512 dynamic podcast microphones, Sony headphones and Sony Z-V1 cameras that mount to the class in the podcast booths.
Recording Audio from RODECaster Pro II to QuickTime Player Desktop Application
- If not already turned on, power on the RODECaster Pro II from the back of the device. There will be a red button toward the back, left of the system.
- Connect long USB-C cable from the RodeCasterPro II to your personal laptop.
- Upon entering the booth, the 512 Audio Limelight Dynamic Microphone on the right is set as MIC 1 / Input 1, and the mic on the left is MIC 2 / INPUT 2.
- Adjust the chair, so your mouth is within 6-inches away from the microphone.
- Put headphones on, making sure the left side is over the left ear, and vice versa.
- Check audio levels to make sure both mic levels come in at between -12db and -6db.
- *If levels turn red audio will become distorted / clipped, impacting clarity.
- Open the QuickTime Player desktop app.
- Right-click the icon in the dock to open its menu and select ‘New Audio Recording’
- In the small box that appears, next to the red rec button, select the down arrow to choose the microphone – ‘RodeCaster Pro II Main Stereo’ – to use for your recording.
- Hit the red record button to begin recording audio and run a quick test!
- Once finished, hit the ‘stop’ button in the same location.
- In the top menu of Quicktime, select File > Export As or Save As, and rename and save the sound recording file to a folder on your desktop or external hard drive.
Please reach out to Thomas O’Brien, tobrie03@syr.edu, for more guidance and 1:1 training using the audio interface.